As mentioned earlier, I will be giving a talk on the 17th SFI IT Academic Festival on the topic of style transfer and StyleGAN. In this post I would like to show you how easy it is to play with style transfer on your own!
To tutorial or not to tutorial
It might be obvious for you to check Tensorflow/PyTorch tutorials if you wanted to learn how to create style-transfer system. But what if you do not want to learn anything? Maybe all you want is just to do the style transfer on your photos? Apparently tutorials with colab notebooks are all you need!
What are the colab notebooks?
Some long time ago Google launched the service Google Colab. This is an online place where you can run your jupyter notebooks on a machine with attached GPU for free! Of course there is a limit on GPU time you can use, but it is usually enough to train some simple networks or fine-tune the pre-trained model. If you are not familiar with colab yet, definitely try it out. It might come handy, e.g., for student’s project or recruitment assignment if you do not have GPU at home.
Simple neural style transfer
We will go through the beginning of the Neural style transfer tutorial. Press the big Run in Google Colab button on top and wait till the environment loads.
You can work in colab almost the same you would work with jupyter notebooks! The whole tutorial is just one massive jupyter notebook. Scroll down to some code and hit Shift + Enter to run the first code cell!

If you do the same with some further cells you will quickly obtain the following abstract dog.

Just look how quick, painless and easy it was! No need for environment setting up or doing any other difficult stuff!
Adjusting for images from the web
Since this is just a jupyter notebook you run, it is easy to adjust it to your needs. Just edit lines:
content_path = tf.keras.utils.get_file('YellowLabradorLooking_new.jpg', 'https://storage.googleapis.com/download.tensorflow.org/example_images/YellowLabradorLooking_new.jpg')
style_path = tf.keras.utils.get_file('kandinsky5.jpg','https://storage.googleapis.com/download.tensorflow.org/example_images/Vassily_Kandinsky%2C_1913_-_Composition_7.jpg')
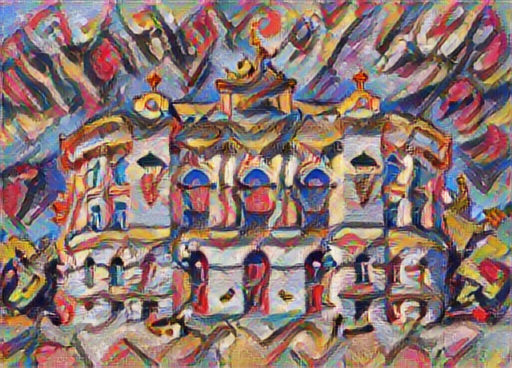
With changing for example the yellow labrador dog url into the Warsaw University of Technology main building url and re-run a few cells.
content_path = tf.keras.utils.get_file('1280px-Gmach_G%C5%82%C3%B3wny_Politechniki_Warszawskiej_2018.jpg', 'https://upload.wikimedia.org/wikipedia/commons/thumb/4/4d/Gmach_G%C5%82%C3%B3wny_Politechniki_Warszawskiej_2018.jpg/1280px-Gmach_G%C5%82%C3%B3wny_Politechniki_Warszawskiej_2018.jpg')

Adjusting for images from you local disk
If you want to upload an image from your local disk to process you can do it as well! Just click here and there:

and adjust a cell from
content_image = load_img(content_path)
style_image = load_img(style_path)
to
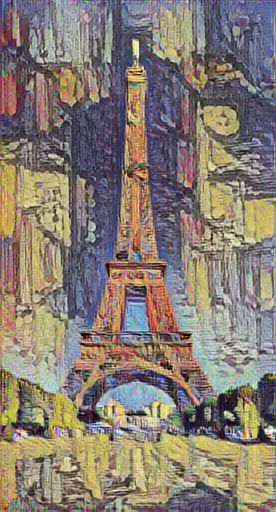
content_image = load_img("the-eiffel-tower.jpg")
style_image = load_img("a-summer-evening-in-the-city.jpg")
and re run everything.

A summer evening in the city with the Eiffel Tower.
Summary
Colab notebooks is a great online service. I hope this post made it clear how to do your own experiments with style transfer. And the best part is that if you are curious how style transfer works, what are the details of methods used, just follow the notebook till the end!
